Printable Valentine Treat Boxes

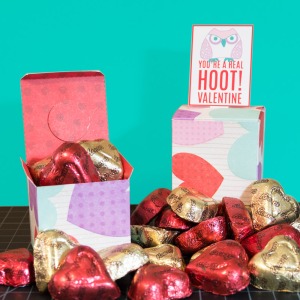
paper boxes with candyValentine’s Day is coming up soon! Whether you need to pass out Valentine’s to a whole class or just need one for someone special, this is an easy little project to help you out!

You can download my template at the bottom to print out the boxes onto your scrapbook paper. There is even a template with some box toppers to print, or you can make up your own. Cut, fold, glue, and fill ’em up!
printed template for box
You can see the dashed lines of the template printed here.

Start by choosing your patterned scrapbook paper in a 12 x 12 size for two boxes, if your printer doesn’t print that wide there is also an 8.5 x 11 size for one box. Print onto your decorative paper with the template on the side that will be the inside of your box.
cut out box template
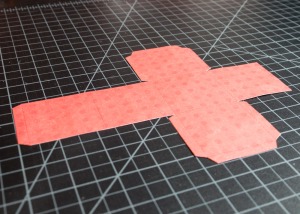
This box is cut and scored for folding

Now you need to score the lines that you are going to be folding (all of the lines inside the perimeter of the template). I use a ruler and my nifty Fiskars embossing stylus. If you don’t have something like this you can use the curved edge of a paperclip, just run it along your ruler for a nice indented line that will make folding easier. Next you will cut out the entire outside edge of the template using a craft knife or scissors.
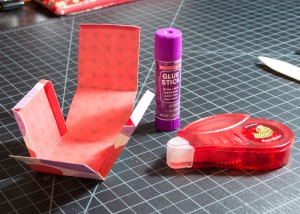
folded box
Folded up box

Next you will fold along all of your scored lines. Crease the lines with your fingernail or a bone folder. Once everything is folded, you will glue the box together. You can use a glue stick or a self adhesive tape runner for instant results.

Next you will cut out the Valentine toppers for the boxes or cut out your own printed or stamped designs. Make sure and leave a tab of paper attached to the bottom of your design so that you can insert it into the box. You will also need to punch a small circle, 1″ or 1.5″ works, or cut them out by hand. These circles will be out of the same patterned paper, one to match the inside of each box.
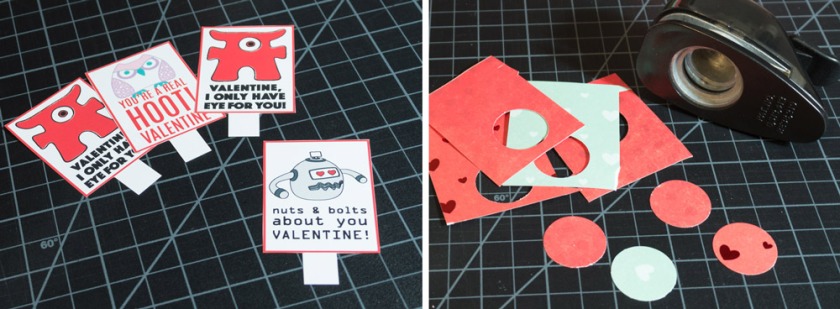
toptabspunchWhen you get to this stage you are going to be inserting the Valentine toppers into the boxes. See the image below for the four steps to follow.
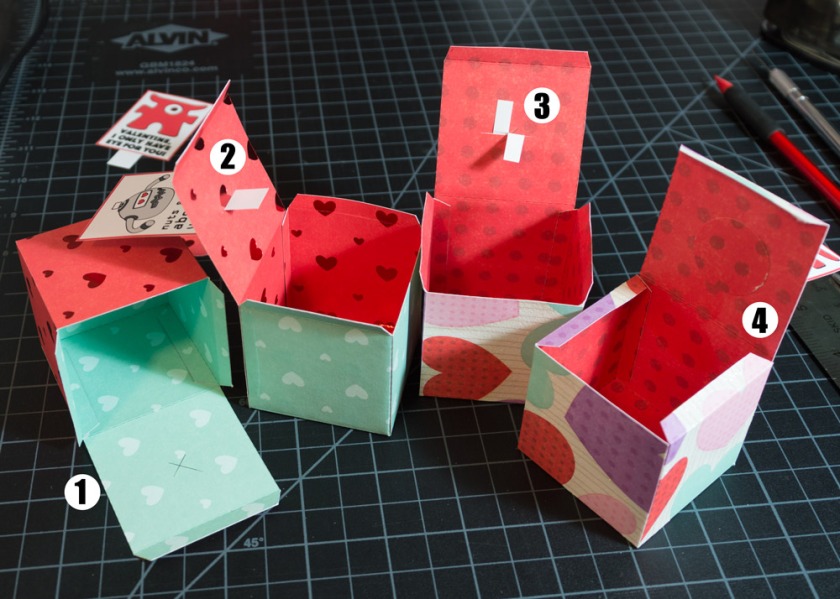
steps for box toppers
The four steps to inserting the box toppers
  1. Draw a line with the ruler touching each diagonal corner of the box top, you will end up with an X that marks the center.
  2. Using a craft knife, cut a slit through the center of the box top to match the width of the tab you cut on your topper. Insert the tab into the slit.
  3. Using scissors, cut the tab in half vertically and fold one half up and one half down.
  4. Glue your punched out circle in matching paper over the tabs to secure the topper in place.
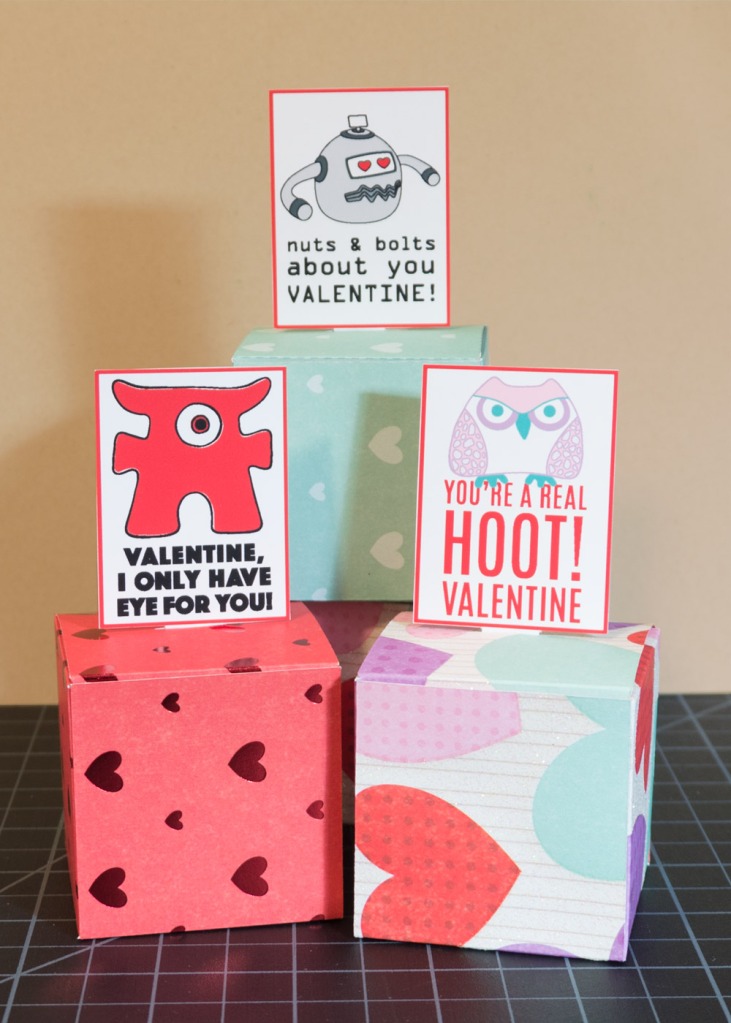
finished boxes
The finished boxes

Once you have made all of your boxes, fill them up with just about anything! I got some Reese’s Peanut Butter Hearts for mine but there are so many choices for Valentine candy that you could fill each box with a different thing if you wanted to! I hope you enjoy this little project, post a picture of your creations on the Created By Jess Facebook page!
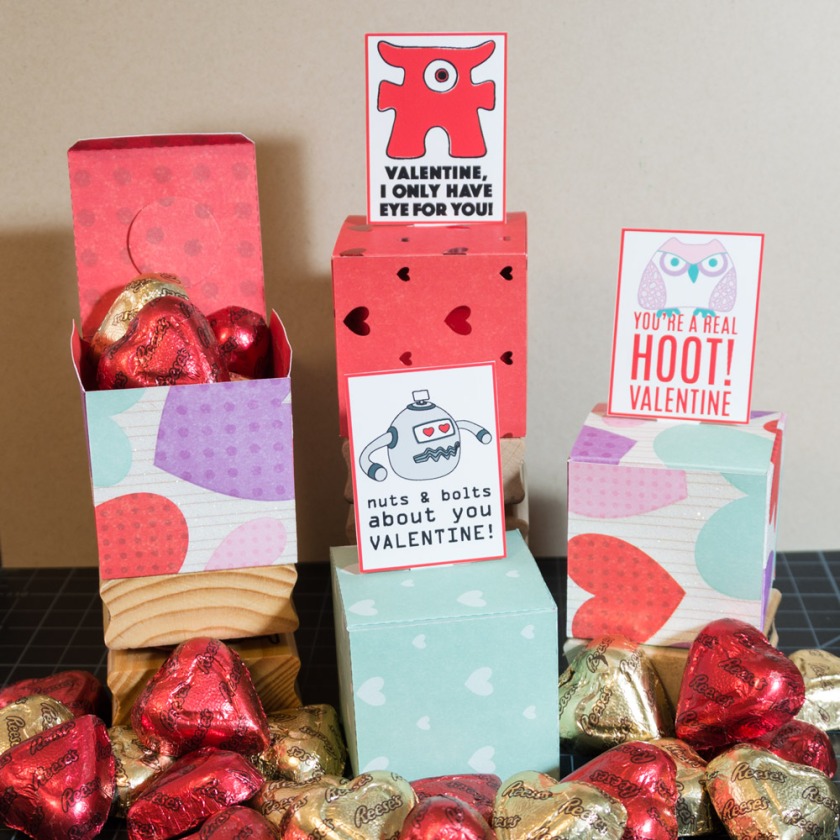
boxes with candy
Boxes filled with Peanut Butter Hearts

Click below for the .pdf templates and box topper artwork.

valentinebox.pdf


Halloween Candy Boxes

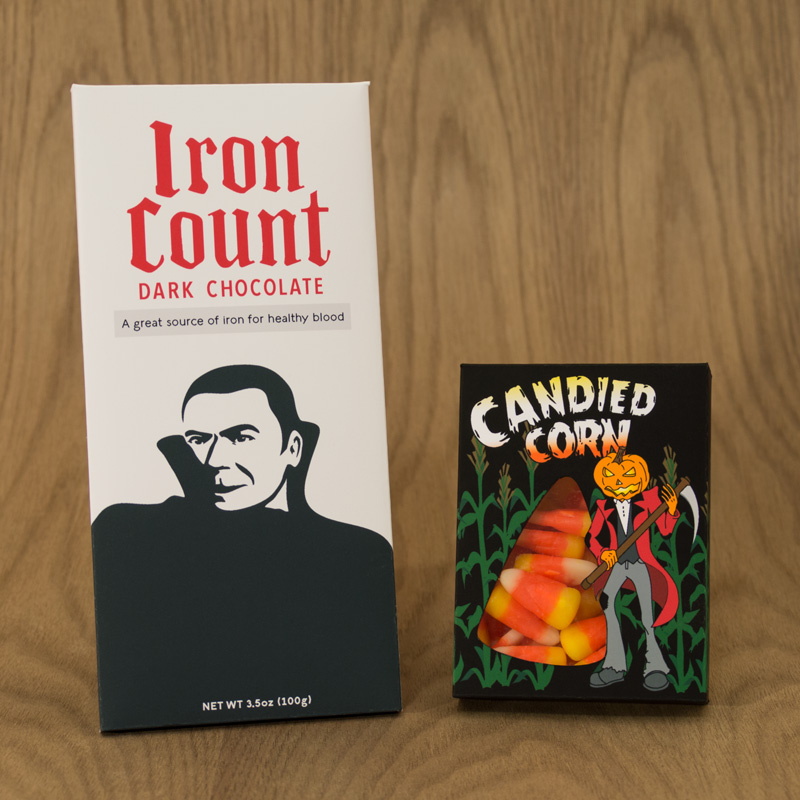
candyboxesHere are a couple of fun Halloween themed candy boxes that I made. I would like to share these with my fellow crafters as a way to say “Happy Halloween”! There are links at the bottom of this post to download .pdf versions of the candy boxes as well as a .pdf guide to score the folds and cut out the boxes.

draculabox2
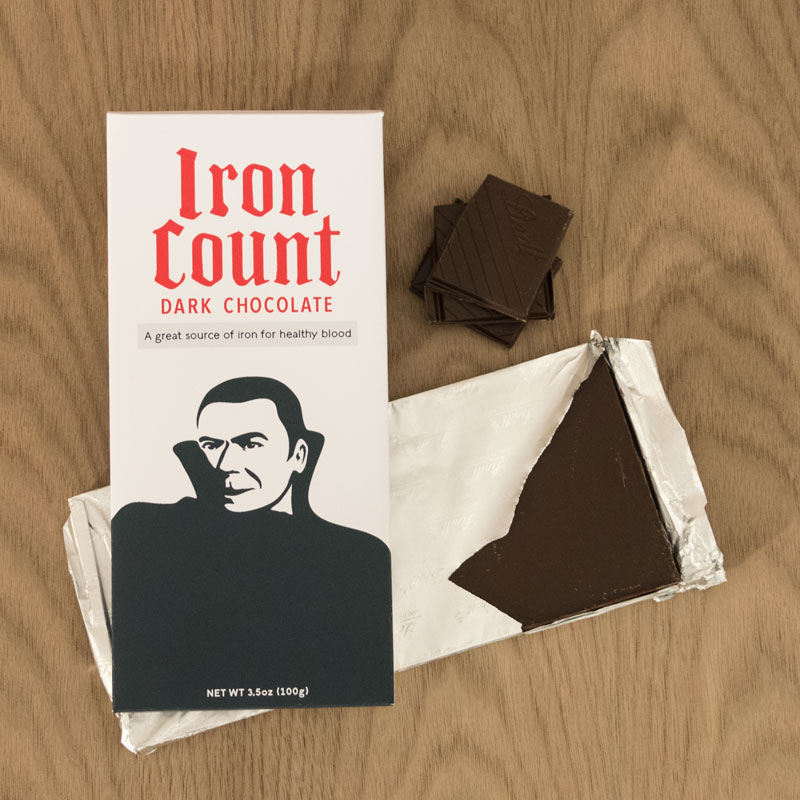
Front of Chocolate Box
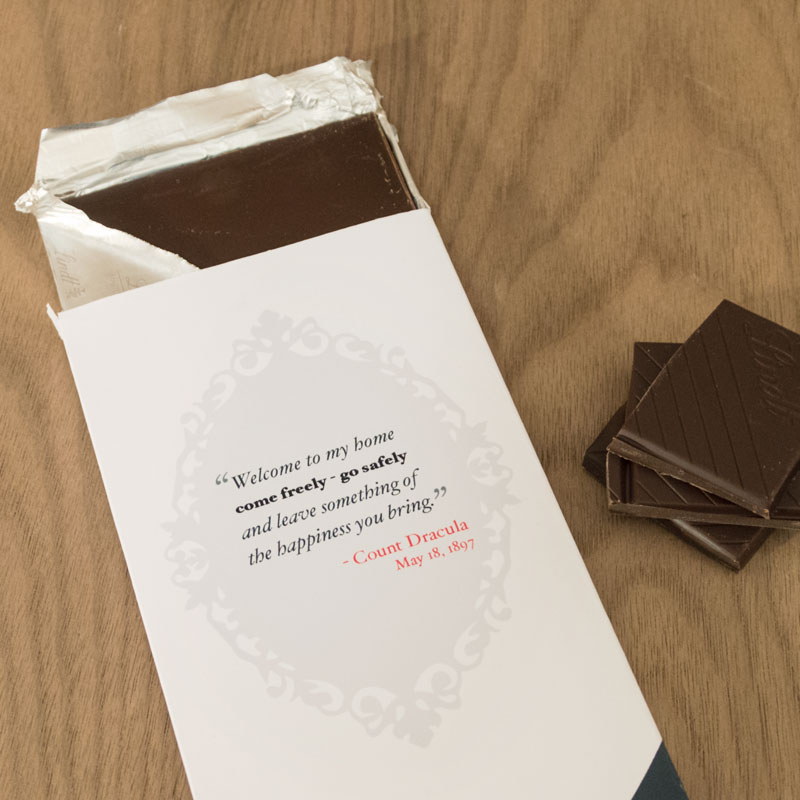
Back of Chocolate Box

This Dracula themed box has the funny product name “Iron Count” because dark chocolate is a good source of iron! The back of the box has a lovely quote from Dracula himself, a perfect Halloween greeting. This box is the perfect size for large chocolate bars. I like the Lindt Chocolate bars because you can easily take the foil wrapped bar out of the original box and slip it into the custom made box, plus they come in lots of flavors and are available everywhere. I used a thicker cardstock but because the chocolate bar is rigid you can probably get away with regular paper.

Candy Corn Box
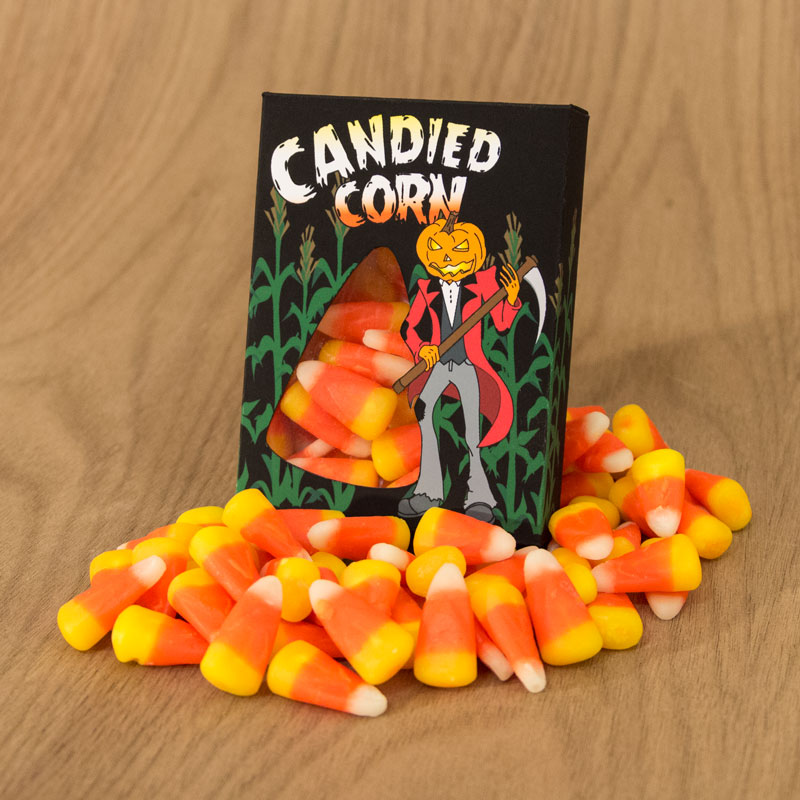
Front of Candy Corn Box
Back of Candy Corn Box

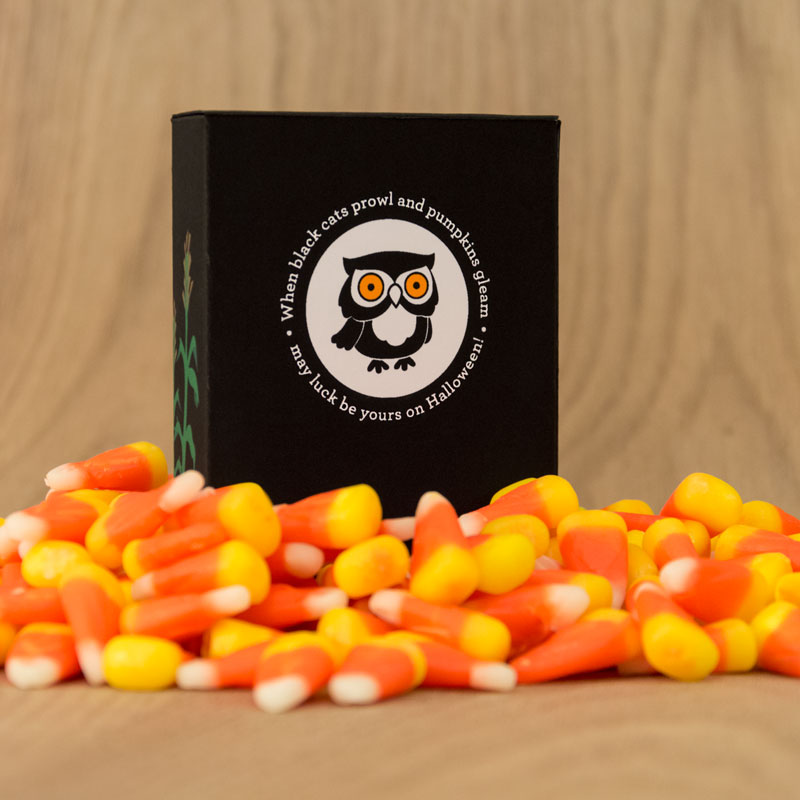
“Candied Corn” makes a great Halloween gift when dressed up in this little black box! A dapper Pumpkin Man adorns the front of the box along with a cut-out window to see inside. The back of the box has a cheery Halloween greeting surrounding an adorable owl. You probably want to print these on a heavier cardstock because the candy corn isn’t light! I’ve added a .pdf version with a light gray background for those who want to print multiple boxes, I know ink is a precious commodity!

Instructions:

  • Print the box artwork and the box guide
  • Place the guide on top, and line up the cross marks with the page below (hold up to a window, lightbox, or lamp when using thicker paper)
  • Tape pages together (optional)
  • Place on cutting mat and score the dotted lines, these are where the folds will be
  • Cut along the outside solid line get your box shape
  • Fold Box and glue/tape the side flap under the back of the box
  • Fold and close top and bottom flaps

Dracula Box Art.pdf

Dracula Box Guide.pdf

Pumpkin Box Art Black.pdf

Pumpkin Box Art Gray.pdf

Pumpkin Box Guide.pdf

Yard Treasure

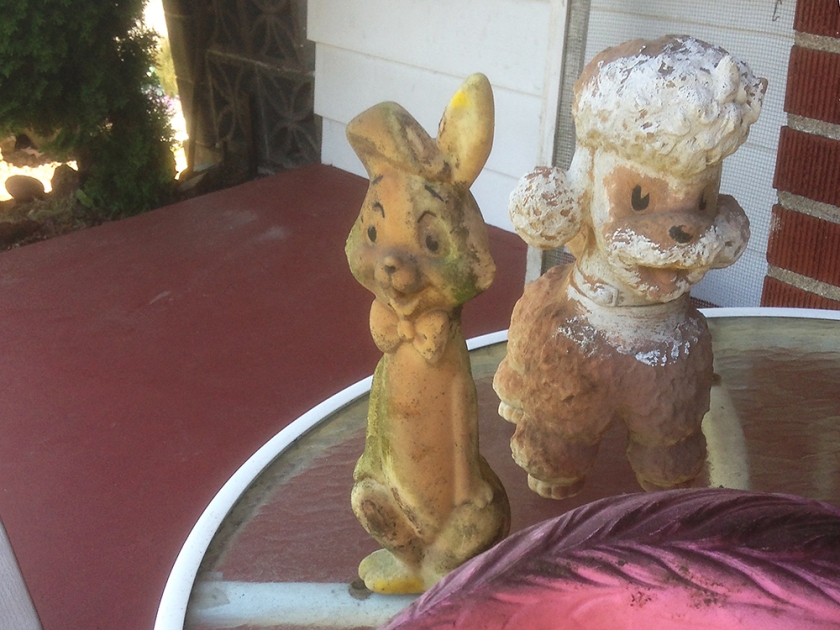
After I shared my newly painted gnomes last week, I remembered that I hadn’t shared a fabulous garden art makeover from two years ago. This was the summer that we moved into our new house and I was doing some clean-up around the backyard. I was trimming some unruly rhododendrons when I spotted something strange tangled in the innermost branches. After prying apart layers of leafy branches I was able to free the mystery object. I was so excited to discover it was a retro rabbit statue! My yard-work that day yielded two more pieces of what I was calling, “yard treasure”. One was a flamingo, sadly it was too far gone to rescue. The other mystery item turned out to be a retro poodle statue. Jackpot!

garden statues
Yard treasure fresh from the shrubs

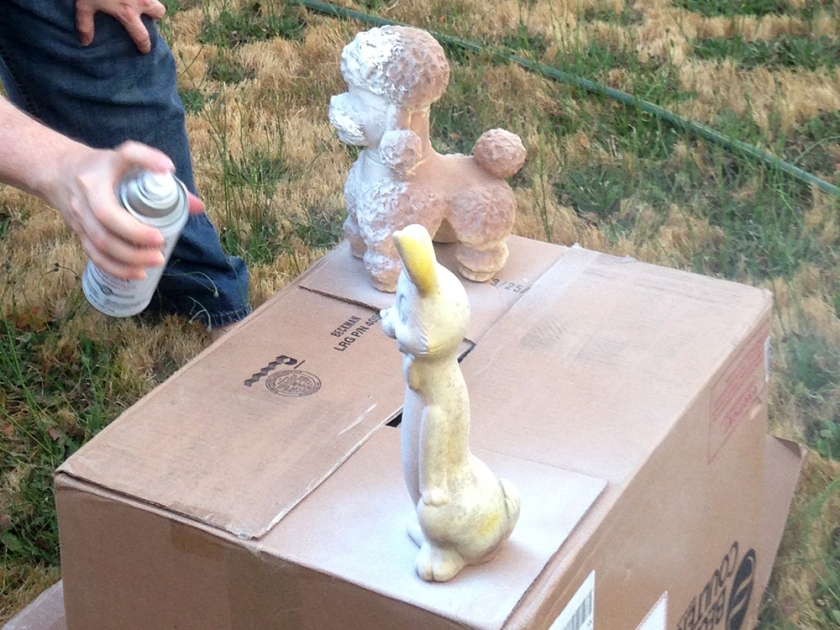
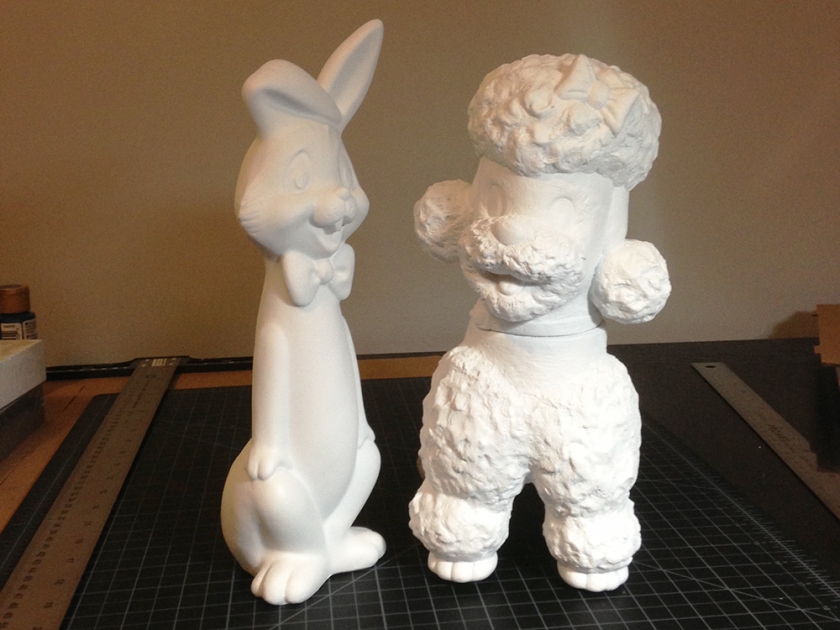
I gave these a thorough scrubbing and used the “jet” setting on my hose sprayer to make them as clean as I could, then let them dry. They were both made of a plastic vinyl rubber like substance which seemed really durable. We gave them each a fresh coat of white paint, using a good quality spray paint.

white spray paint
Spraying the statues white

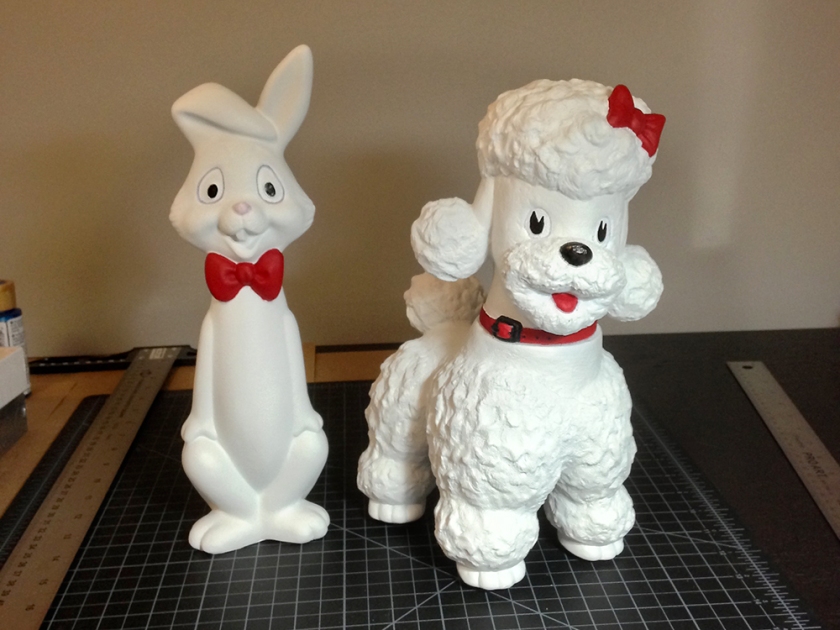
Once they were dry I took them inside to paint back on the eyes and accessories. It didn’t take long at all because they only needed a few small details to come to life. I painted the eyes black and the bows and collar red and that was all!

finished_white
Nice and bright white again!

Now these “yard treasures” are sitting on the mantel of the backyard fireplace and they look great! I’ve been on the lookout for more pieces like them whenever I’m at a yard sale or thrift store but so far no luck. I would love to have a yard filled with funny vintage animal statues, but for now I’ll settle for two.

painted statues
Repainted and adorable yard treasure