It’s time to wrap the presents! Don’t spend money on gift tags, make your own using wrapping paper and a few craft supplies!
Make tags to match any wrapping paper
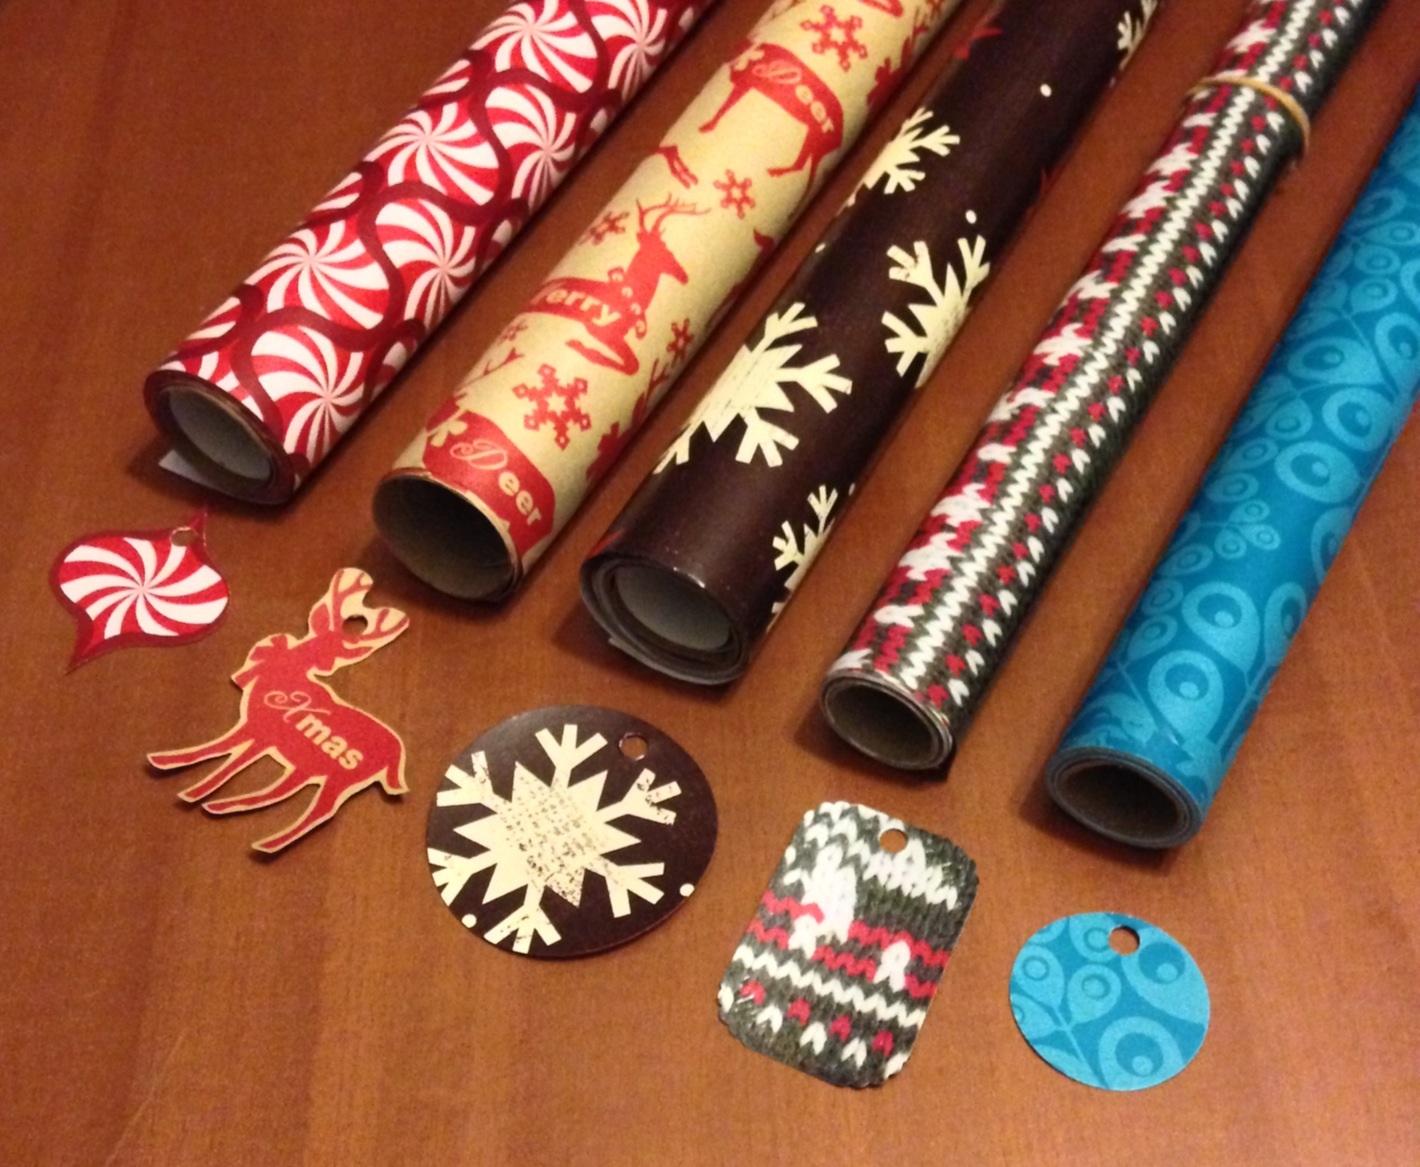
You will need some wrapping paper, plain colored paper, scissors, a hole punch, and a glue stick. If you have access to craft punches, these tags will be even quicker to make.
SuppliesStep One, glue down your paper
The first thing you will do is cut out a square of your wrapping paper and use the glue stick to glue it onto the colored paper. This creates the front and back of your tag. Wrapping paper by itself it thin and tends to tear or curl up. Now you can either use a craft punch, or cut out a shape with scissors.
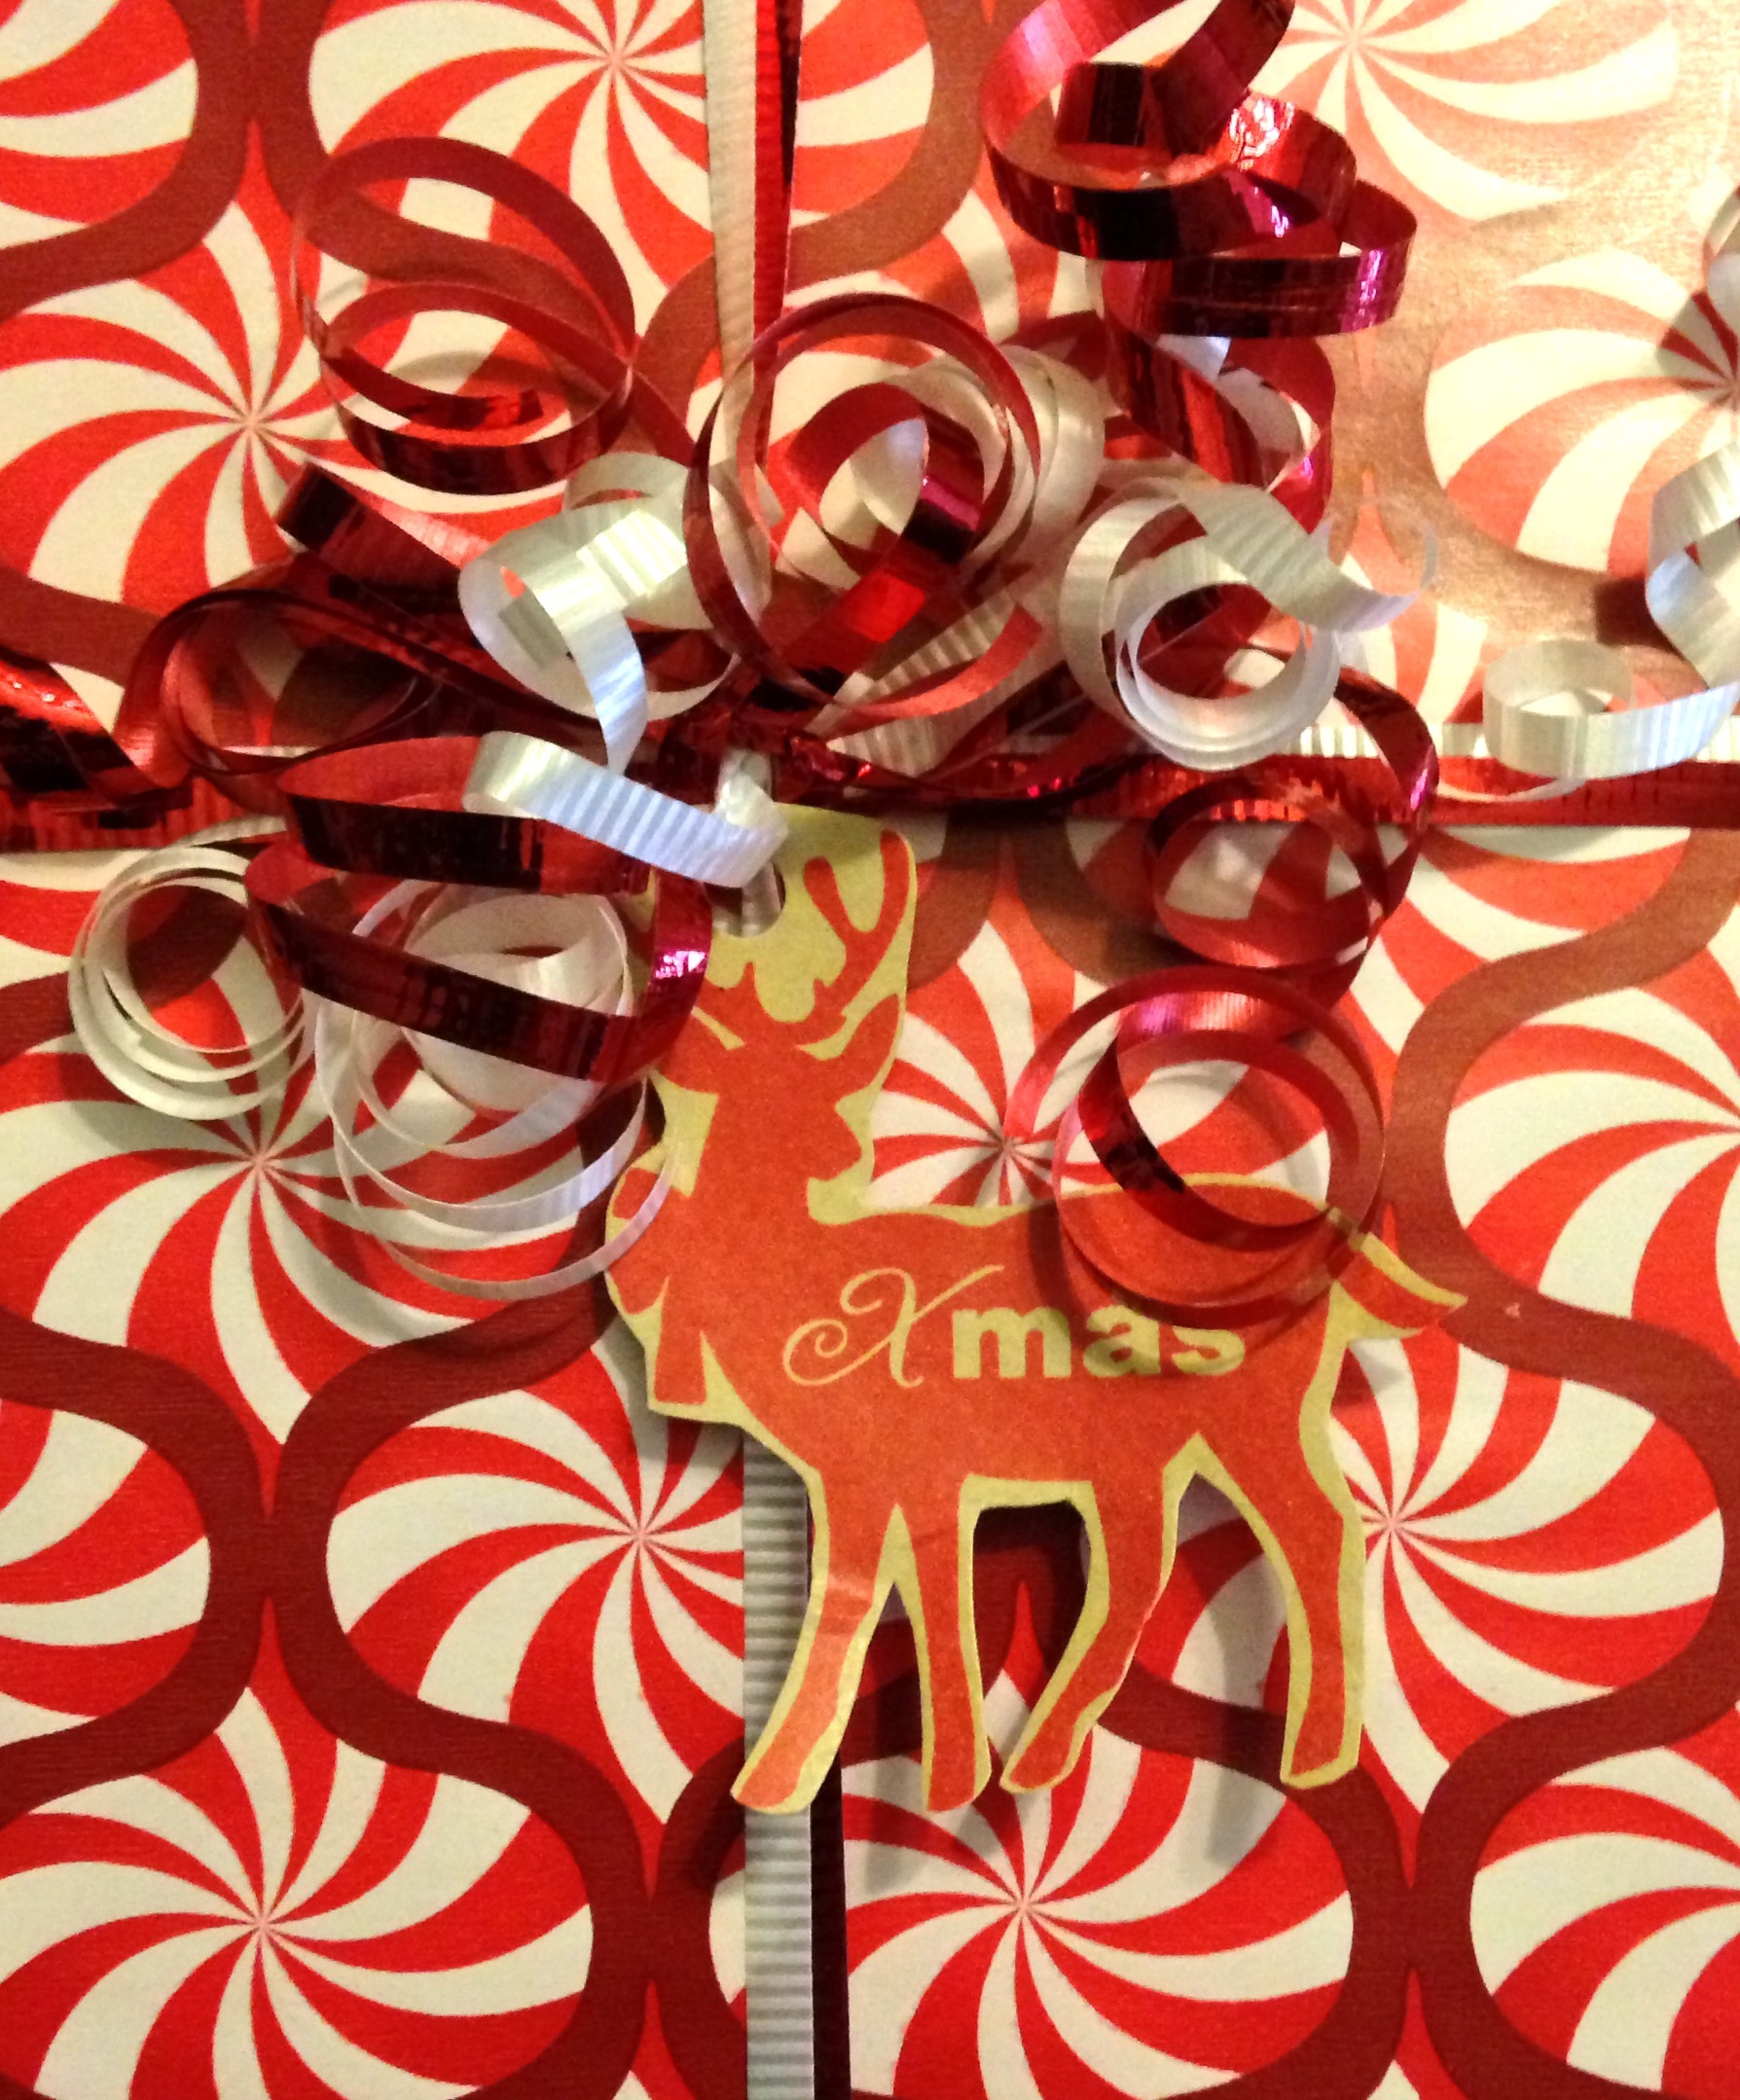
Step Two – cut out the tags
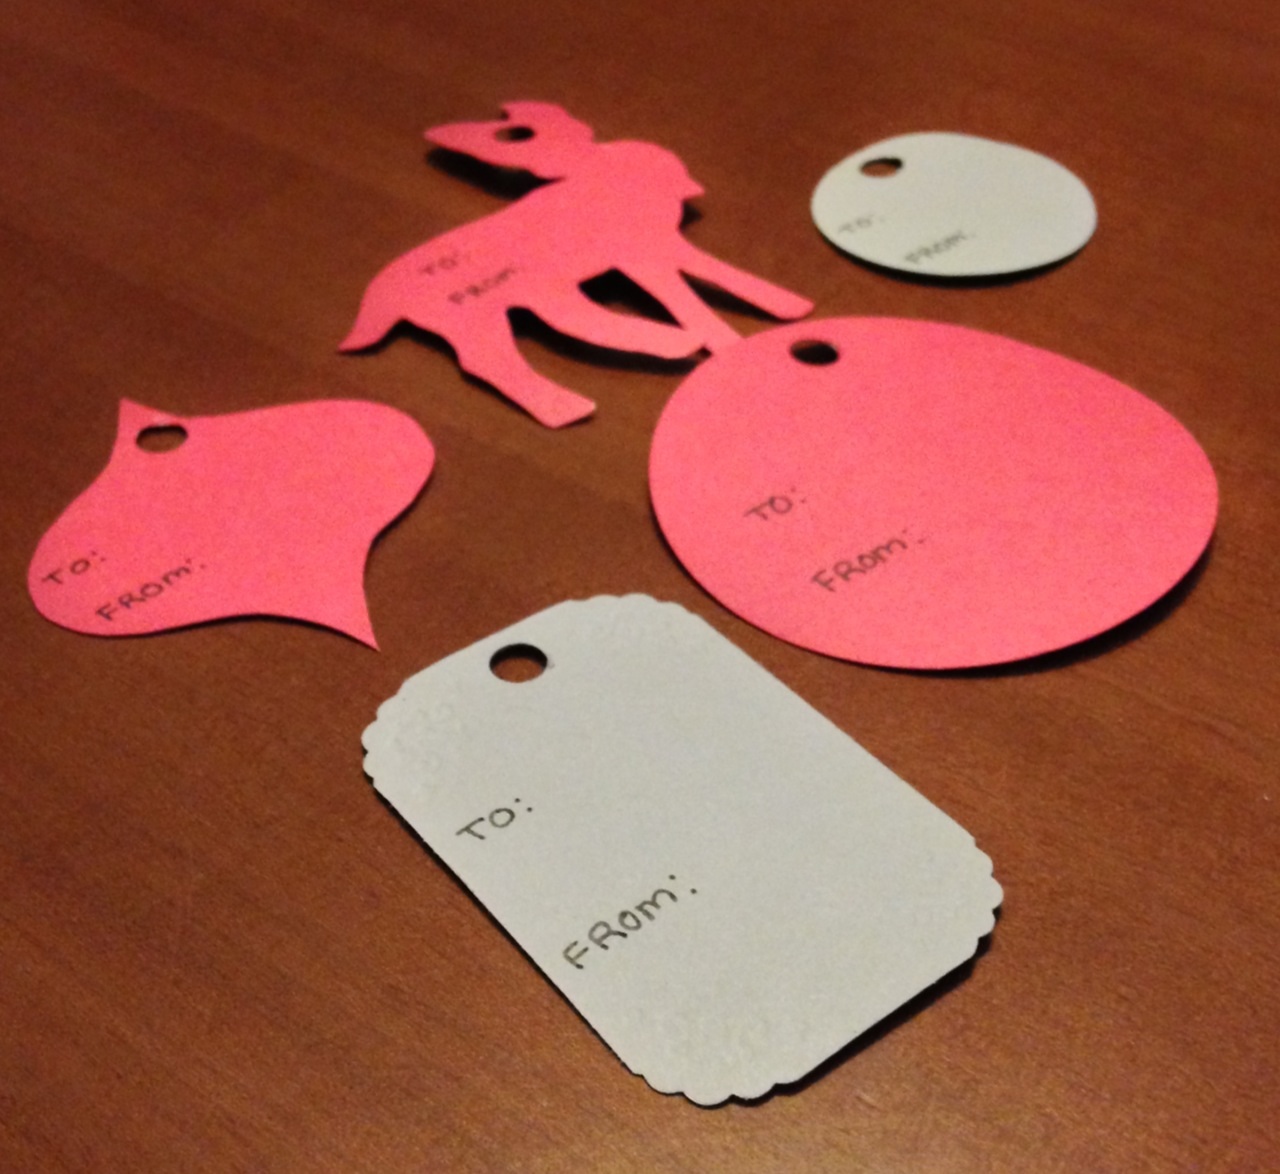
I’ve used a large circle punch, a smaller circle punch, and a corner punch. Some tags I cut by hand, simply follow the design on your wrapping paper. When you have them all cut out, use a standard size hold punch to make a hole at the top of each tag. I used a black pen to write To: and From: on the back of each tag.
Step Three – Wrap your gifts
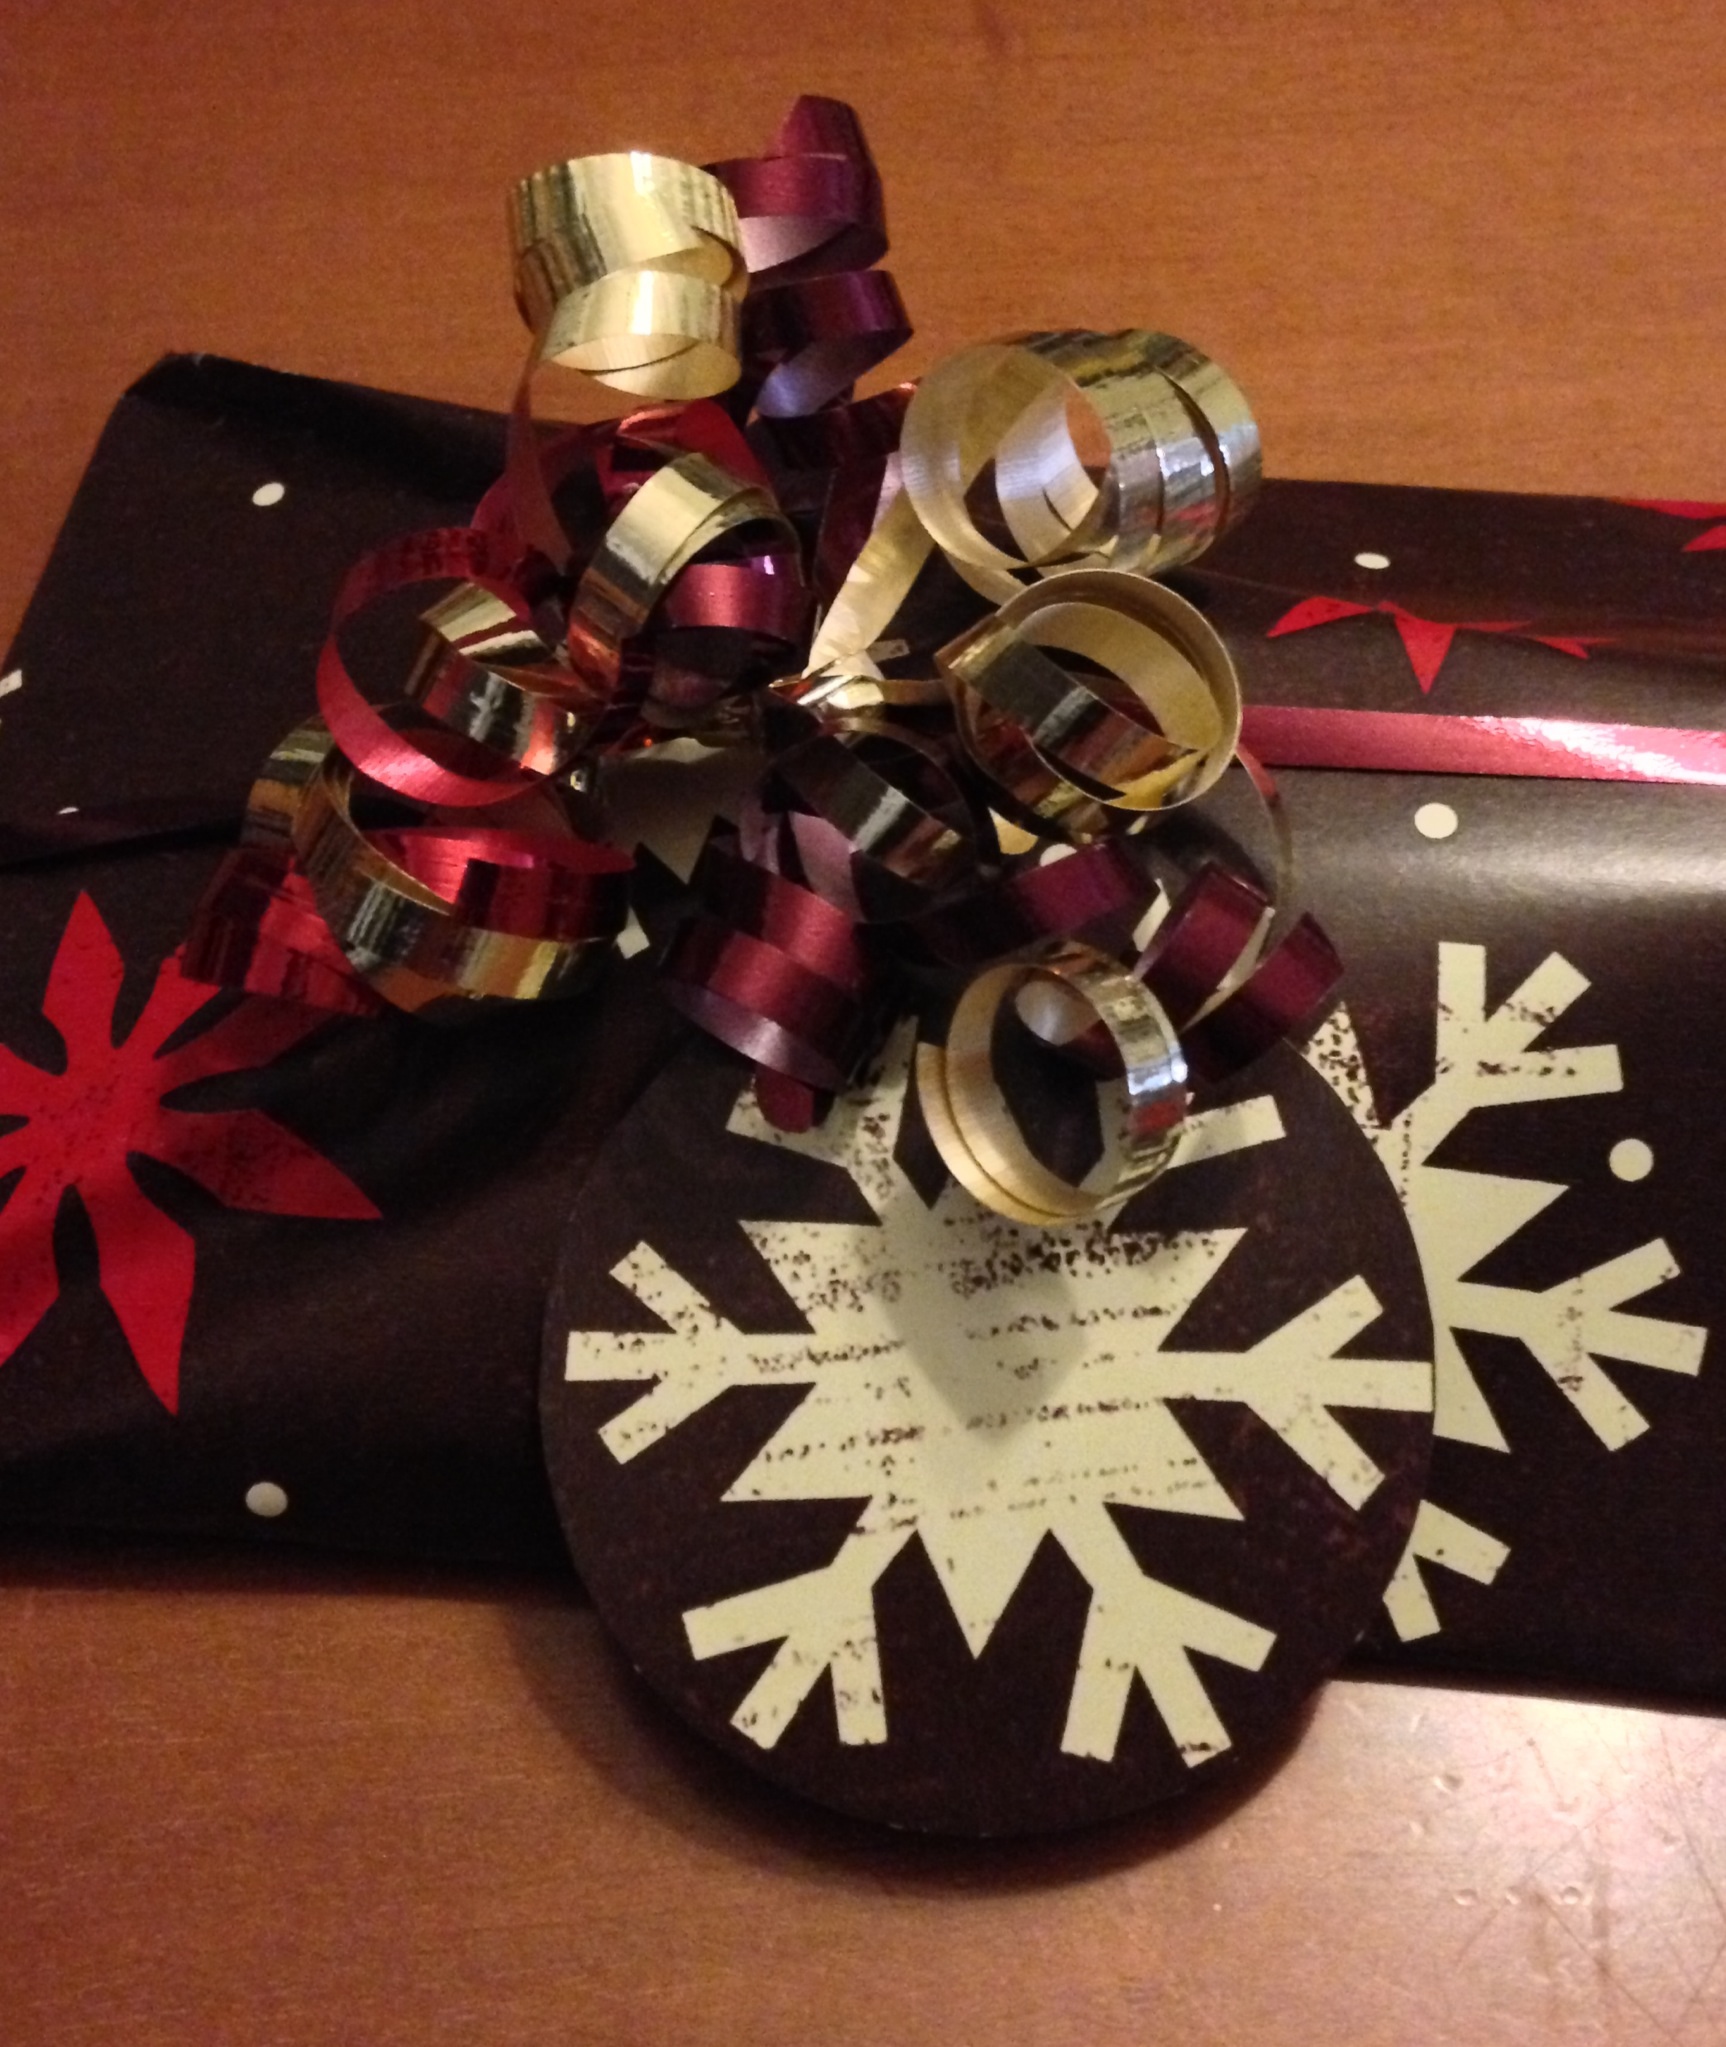
I like to make a bunch of these all at once and keep them with my wrapping supplies. I generally wrap my presents whenever they come in the mail, or when I get home from the store. Having a matching tag makes your present look great! To use, simply thread your ribbon through the tag before you tie it around your package.
Custom and cute gift tags
Don’t forget to use plenty of curling ribbon, it’s cheaper than buying bows and so much fun to curl! Happy Holidays!
October is a busy time for our front doors and porches. In addition to a seemingly steady flow of political canvassers, we are coming up on that magical night, October 31st. Some years that means a small handful of trick-or-treaters, and other years, it means a steady parade of carefully constructed costumes. While running out of candy would be tragic, having an uninviting front porch would be worse. How else do you let people know they are welcome to come up and knock! In addition to flickering carved pumpkins, I always put out a few other festive decorations and lanterns. Don’t forget to leave the porch light on as well. All it takes is one decoration to let people know you celebrate this spooky holiday. If you don’t have a large doorstep or porch, then this is the ideal Halloween decoration for you. Today we are making a simple Halloween wreath.
Supplies
This craft is pretty inexpensive, I got all of my supplies for about $10.00 at Michael’s. I used a 40% coupon on the wreath itself and all of the extra bits were on sale. This black plastic wreath is just like green ones you find around Christmas time, I chose the 18″ size, pick whatever size is right for your needs. Whenever I’m making a wreath like this I always check the Christmas section for floral and wreath making accents. You might be surprised to learn that these glittery orange leaves and silvery grey balls were tucked in with with poinsettias and holly berries! Plus, if you want a bit of color in your Halloween wreath, they have some great purple and bright green accents to choose from. I picked out some black and white ribbon, a cute little wooden ornament of a spell book, and this great little owl with an orange glittering front. You will need some string, black is best, and a hot glue gun and glue sticks, also a pair of wire cutters or scissors.
Black Wreath
Before you decorate these wreaths, you need to “fluff” them out. Kind of like setting up a fake Christmas tree. The one on the left is straight out of the bag, when you pull apart all of the branches and bend them outward, you end up will a nice full looking wreath like the one on the right.
The owl and spell book
The first thing I put together was my little owl and the wooden spell book ornament. I cut off the ribbon from the ornament and tucked one of the wires from the owls feet through the hole. Then I used hot glue to secure the wire to the ornament. I glued a long piece of black string to the back of the ornament, this will allow me to tie the piece onto the wreath. I cut off the wire from the other foot and added a small drop of hot glue to secure it to the wooden book.
Owl and spell book
The owl has a small clip on the back that I secured to one of the branches and then tied my string around the wreath. I like this better than gluing the whole piece down because I can straighten in out easier when I hang this up again next year!
The black and white bow
I’m the first one to admit, I have no idea how to make a proper bow! Maybe someday I’ll learn, but this cut and glue method usually does the trick for me. I started by making four large loops, the length depends on how big you want your bow. I used hot glue to secure the ends together and to hold the middle of each loop into the pinched shape. I stacked these larger loops together using hot glue to form what is starting to look like a bow. Then, I cut a bunch of smaller strips and folded them to make half size loops, I glued the ends together and glued these single loops all the way around to fill out the bow. I did the same thing with even smaller loops to make a fuller middle section. Then I made one small loop and glued in to the center. Next, I flipped over the bow and glued a long piece of black string to the back. Just like we did for the owl, this makes the bow easy to tie on and re-position if needed.
bow with orange glittered leaves
Once my bow was tied on in the right place, I cut apart my stems of glittered leaves. I hot glued little leaf clusters on each side of the bow and continued gluing leaves down until it looked as full as I wanted, on both sides. With the bow finished and my owl in place, I put the silvery grey balls on as a finishing touch. I cut them off the cluster using wire cutters and randomly placed them around the wreath using a dab of hot glue on each. I think they break up the solid black sections nicely and give this wreath a little more glamour.
The Halloween Wreath
I have a large metal hook to the left of my front door which is where I always hang my wreaths. These don’t weigh too much though, I’ve used wire in the past to tie them to the wooden part of the screen door, or you can pick up a wreath hanger that slips over the top of the door. I’ve seen them pretty cheap this time of year, check the Dollar Tree.
I found this green glass jar at Goodwill last week. It was only $1.99 and such a great color, I had to get it. I decided that because I didn’t “need” it, I would use it for a Halloween decoration, or candy jar.
Green Glass Jar
I used rubber stamps and scrapbook paper to make a label for my jar. I carefully cut out the stamped design and used a piece of double sided adhesive to turn it into a sticker.
Making a label
I applied my sticker to the glass jar, all done! I chose to name the contents Poison, but you could make a bunch of these using all different containers and have fun making up the various labels and contents. This was a very quick craft too, less than 15 minutes. It’s a bit early to decorate for Halloween but I couldn’t resist this Goodwill Bargain.